
Whether they come from your garden or at the store, flowers add so much to a room. Pressing flowers is a great way to extend that beauty and it’s a very kid friendly project to boot!
Here’s what you will need to gather up:
- Fresh flowers that are on the delicate side. Think pansies, rose petals, and snapdragons. NOT sunflowers whose body is way too thick and substantial to press flat! Press more than what you expect to need in case some of them don't press perfectly.
- Don't forget some greenery. Look for leaves that have a nice shape and use some of those too.
- White tissue paper (like for stuffing on the top of a gift bag).
- A large book or two that you won’t need for about a month. Hardcover books are preferable.

That’s it! And now you are ready to do the pressing. Most of this is pretty doable for kids working alongside their parents so it can be a family project with the kids helping choose the flowers and cut things.
- Trim the flowers, stems and leaves down to a size smaller than the pages of your book.
- Cut the tissue paper so that it is in rectangles approximately the same size as the pages in the book.
- Decide on the placement of the plants. Do you want them to be placed on their sides so they will press in “half”? (Think of a profile shot of the flower.) Or do you want to have them be face up? Sometimes the flower can be used either way and sometimes it only makes sense to have it one way or the other. It depends on the flowers and leaves you have selected.
- Open up the book and lay a sheet of the cut tissue paper on the book’s page, lay some of the leaves or flowers on the tissue paper. If you are putting more than one flower on the same sheet of tissue paper, make sure they don’t overlap. Remember to lay the leaves and flowers how you wanted them placed (side or face up) and in a way so they do not extend beyond the page of the book. Cover them with a second piece of cut tissue paper and then Carefully shut the book.
- Repeat this process in different sections of the book until you have used up all your flowers and leaves. Try to keep at least a ¼ inch thickness of pages between one place where the flowers are inserted for pressing and another place where other flowers are inserted. TIPS: Depending on the size of your book and the quantity of flowers, you may need to press using 2 books. As you add more flowers, try to move the book gently so you don’t make the flowers you have already put in shift around too much. Working your way from one side of the book to another is a good strategy so most of the movement is happening where there aren't any flowers yet and the lower part that already has flowers can just be on the table or counter fairly unmoved.
- Once the last of the flowers have been inserted, take the book and place it somewhere out of the way and under a good amount of weight (like a stack of more hardcover books or a full case of canned sodas).
- Leave the whole stack alone for 4-6 weeks. Let the tissue paper dry the plants out and the weight of the items stacked on top of it flatten them down. Don't shift the book around or open it up during this time.
- When the calendar says time’s up, carefully open up the book and see how everything looks! Expect to see them slightly faded from the bright colors they were originally. And sometimes they stick to the tissue paper so with a small paintbrush you can gently work to unstick them.
- They will be delicate so keep them either in the book until you are ready to use them or transfer them to a box for safekeeping.

What can you do with your beautiful pressed flowers???
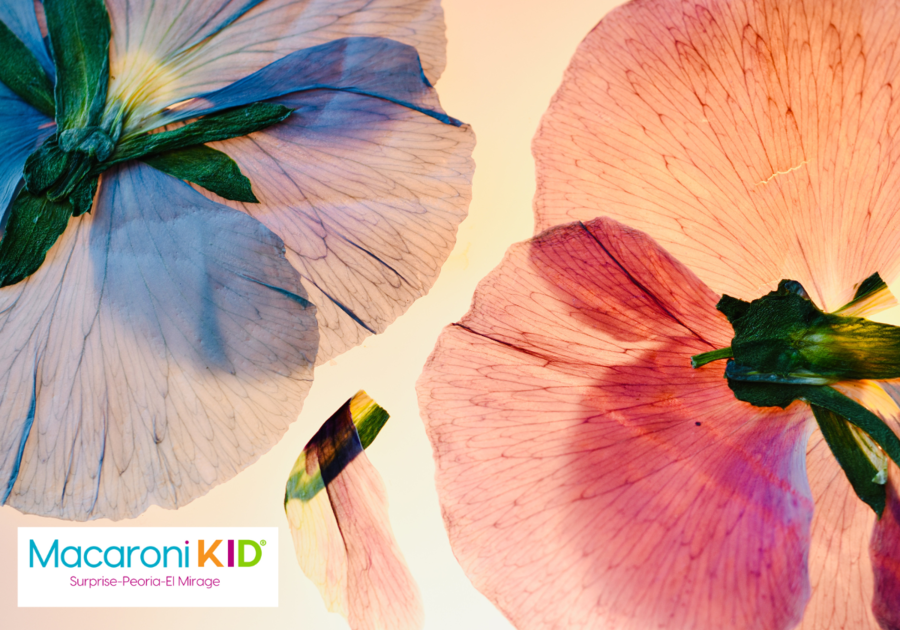
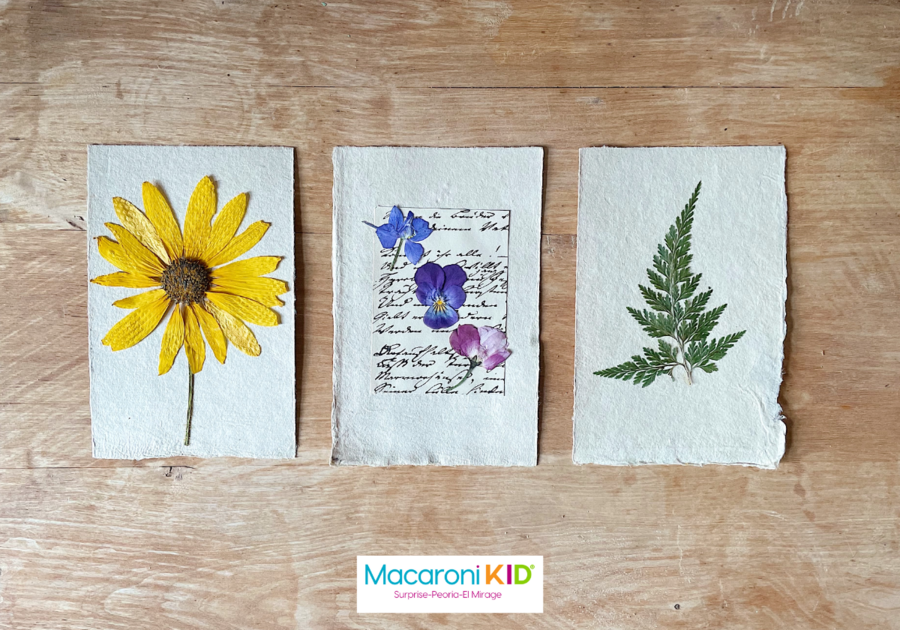
What to do with them is mostly up to your creativity and interests. They can be used to decorate a lot of things using a technique called decoupage which seals them and protects them nicely. In a month, once the flowers have had a chance to get pressed, I’ll do the second half of this project and share how to make some nice Mother’s Day gifts. The pictures in this article also show how pretty pressed flowers can look when placed in a frame or on some "handmade" paper.
Whatever you decide, you will always have a little bit of springtime to enjoy when you look at them!