Because it's Easy, Family Fun, because almost everyone loves ice cream, and also because Saturday, Feb. 1st is National Eat Ice Cream for Breakfast Day!
This is actually a good way to start off the day for all you parents. The kids have to make their own breakfast but instead of grumbling they will be really excited about it. And it’s actually pretty simple so you will be fine with just one cup of coffee in your system before getting the kids started.
The RECIPE
I love this recipe because even if I am dragging a little, it’s pretty easy. Just remember 1/1/1/1 goes in the small bag and 3/3 goes in the large one.
Also, this is the recipe for 1 person to make 1 serving for themselves. If you have a family of 4 you will need to multiply the recipe by 4 in order to have enough ingredients and bags for everyone.
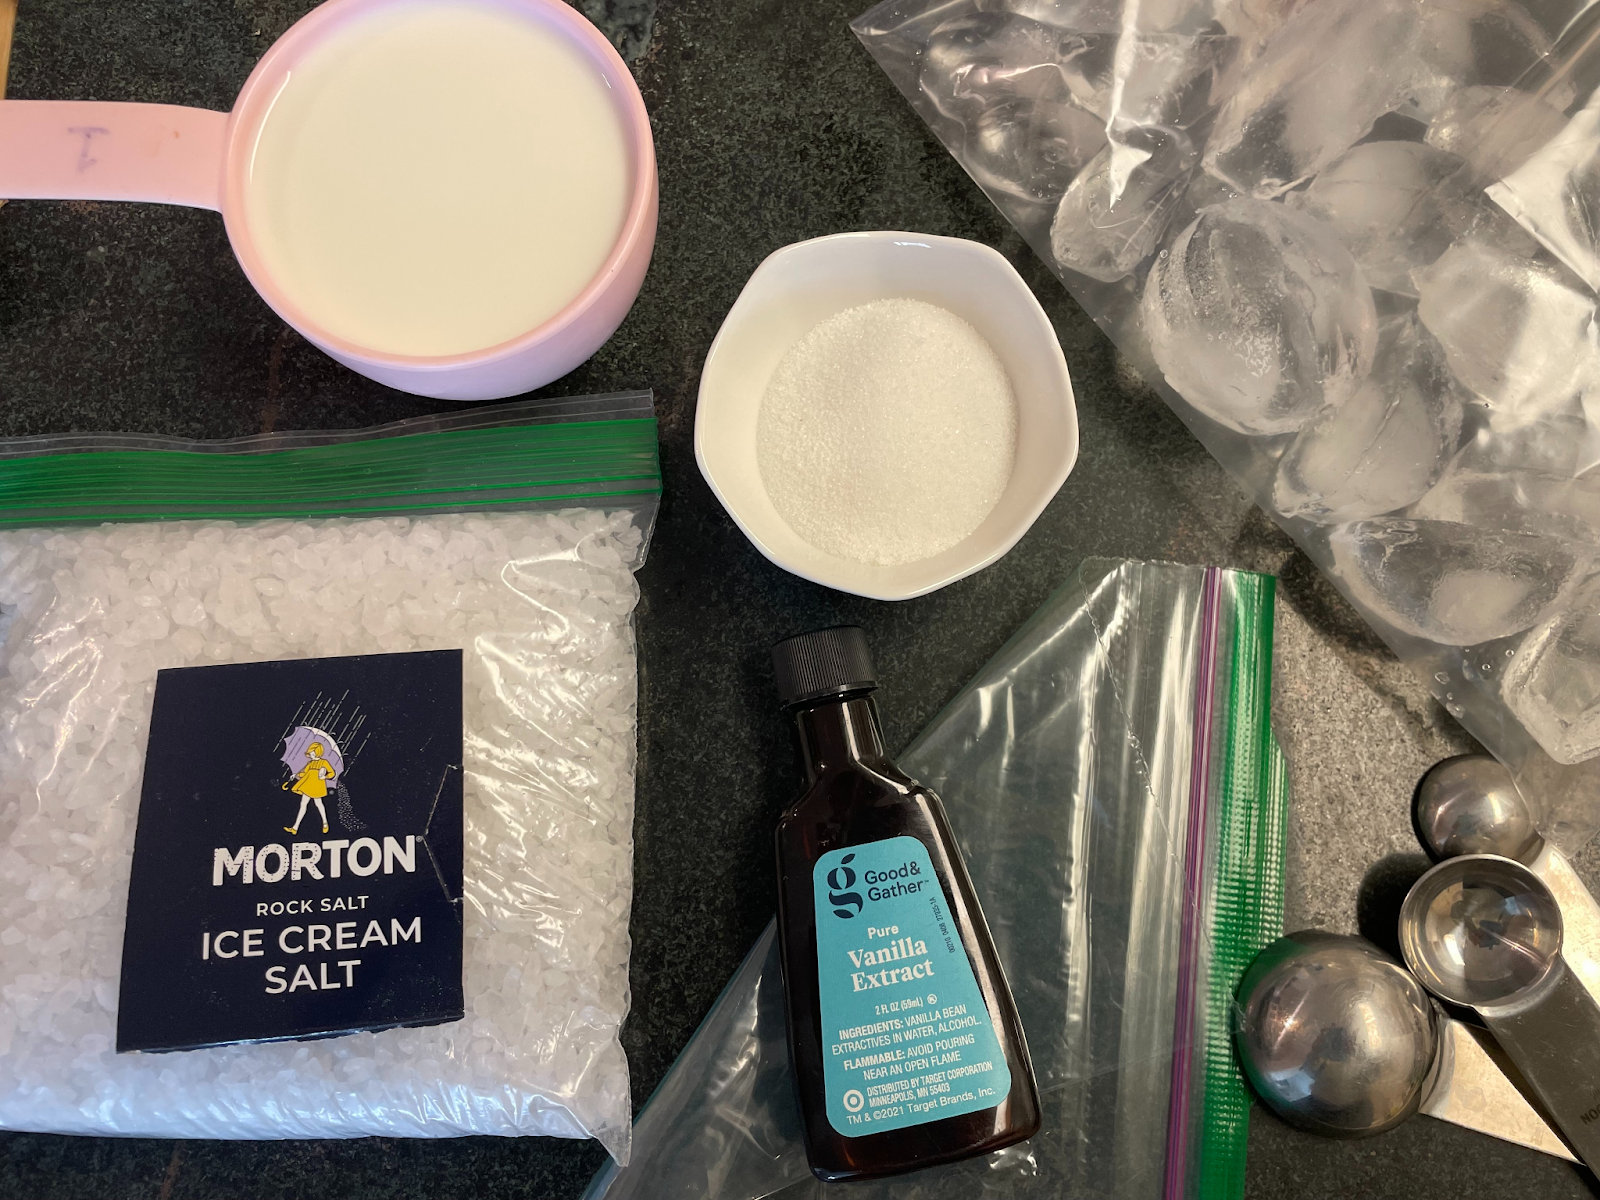
- 1 cup (8 oz) of half n half (whole milk works too but then you are making ice milk so it’s not quite as delectable)
- 1 Tbs of sugar (heaping is OK)
- 1 Tsp of vanilla extract
- 1 small pinch of salt
- 1 sandwich size resealable bag
- 3 cups of ice
- 3 Tbs of rock salt / ice cream salt
- 1 gallon size resealable bag
I’ve made ice cream in a bag multiple times over the years but this time I decided to think outside the box a bit and tried some different flavorings instead of the standard vanilla extract. I discovered that adding Ovaltine powder makes a pretty tasty chocolate version and that mixing the powder in fairly well while everything is still liquid is a good strategy. I also had the idea to go for a churro flavor so I tried adding some cinnamon sugar to a separate bag. That also was yummy. Since I bake pretty regularly I have peppermint and coconut extract too. I got those out and gave them a whirl. Peppermint was not something I’d recommend but I, as an adult did enjoy the coconut extract flavored ice cream. Long story short, don’t be afraid to experiment a bit and see what you can come up with based on what you have in your kitchen.
DIRECTIONS
- Put the half n half, sugar, vanilla extract (or other flavoring) and salt in the small bag. Try to get most of the air out and then seal it closed. Make sure that seal is 100% sealed!
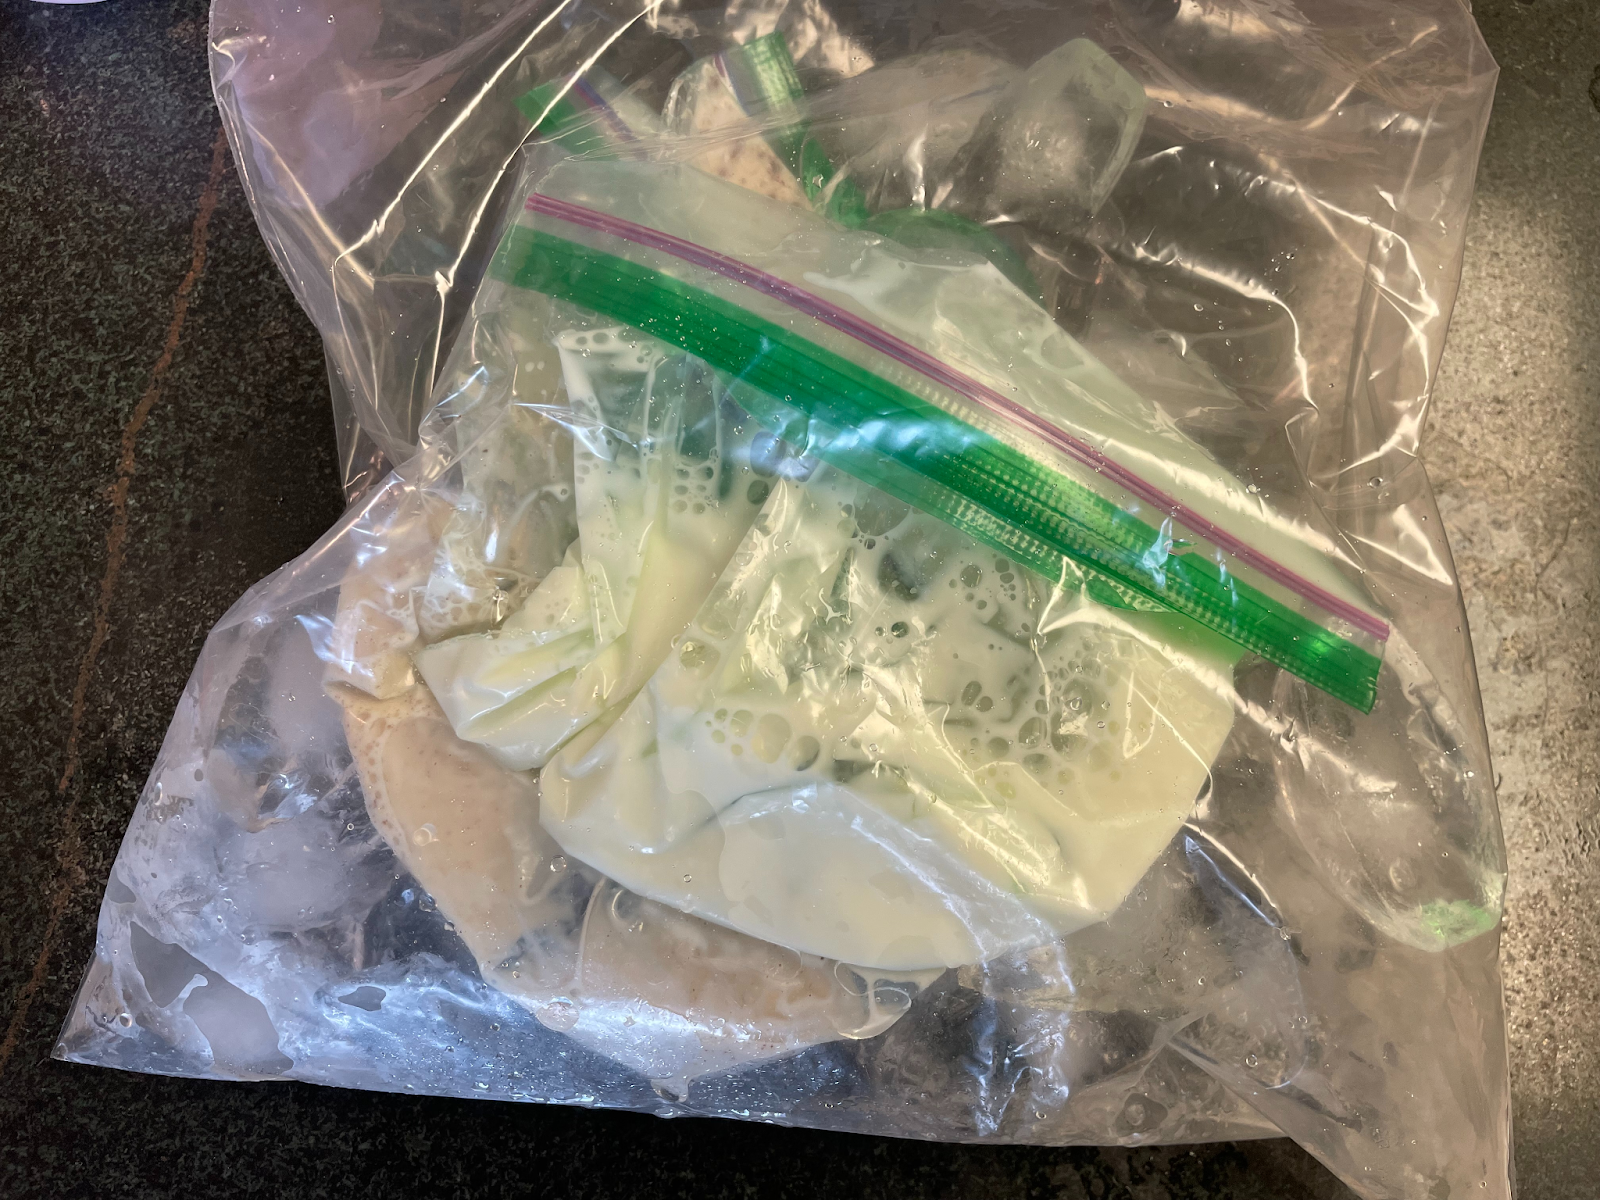
- Put the ice in the gallon sized bag, then sprinkle the rock salt on top.
- Take the small bag and put it into the large one. Try to get most of the air out and then seal it closed too.
- Massage the bags. Don’t shake them vigorously. Tap them on the counter. Keep the contents moving gently but continuously. I’d recommend having everyone work over a kitchen towel because the bags will get drippy from condensation and the towel helps with that. Fingers will start to get chilly and the towel can also double as a nice little hand wrap to counteract the cold. Sometimes the large bag will get a tear somehow and start leaking. If this happens, just grab another gallon sized bag and drop the ones you already have right in it. Seal that new outer bag and keep going. Problem solved!
- Keep going for about 5 minutes and see what the consistency is. Maybe your fingers have had enough of the cold and you are happy with a softer consistency or maybe you want/need to keep going. By 8-9 minutes you will definitely be done.
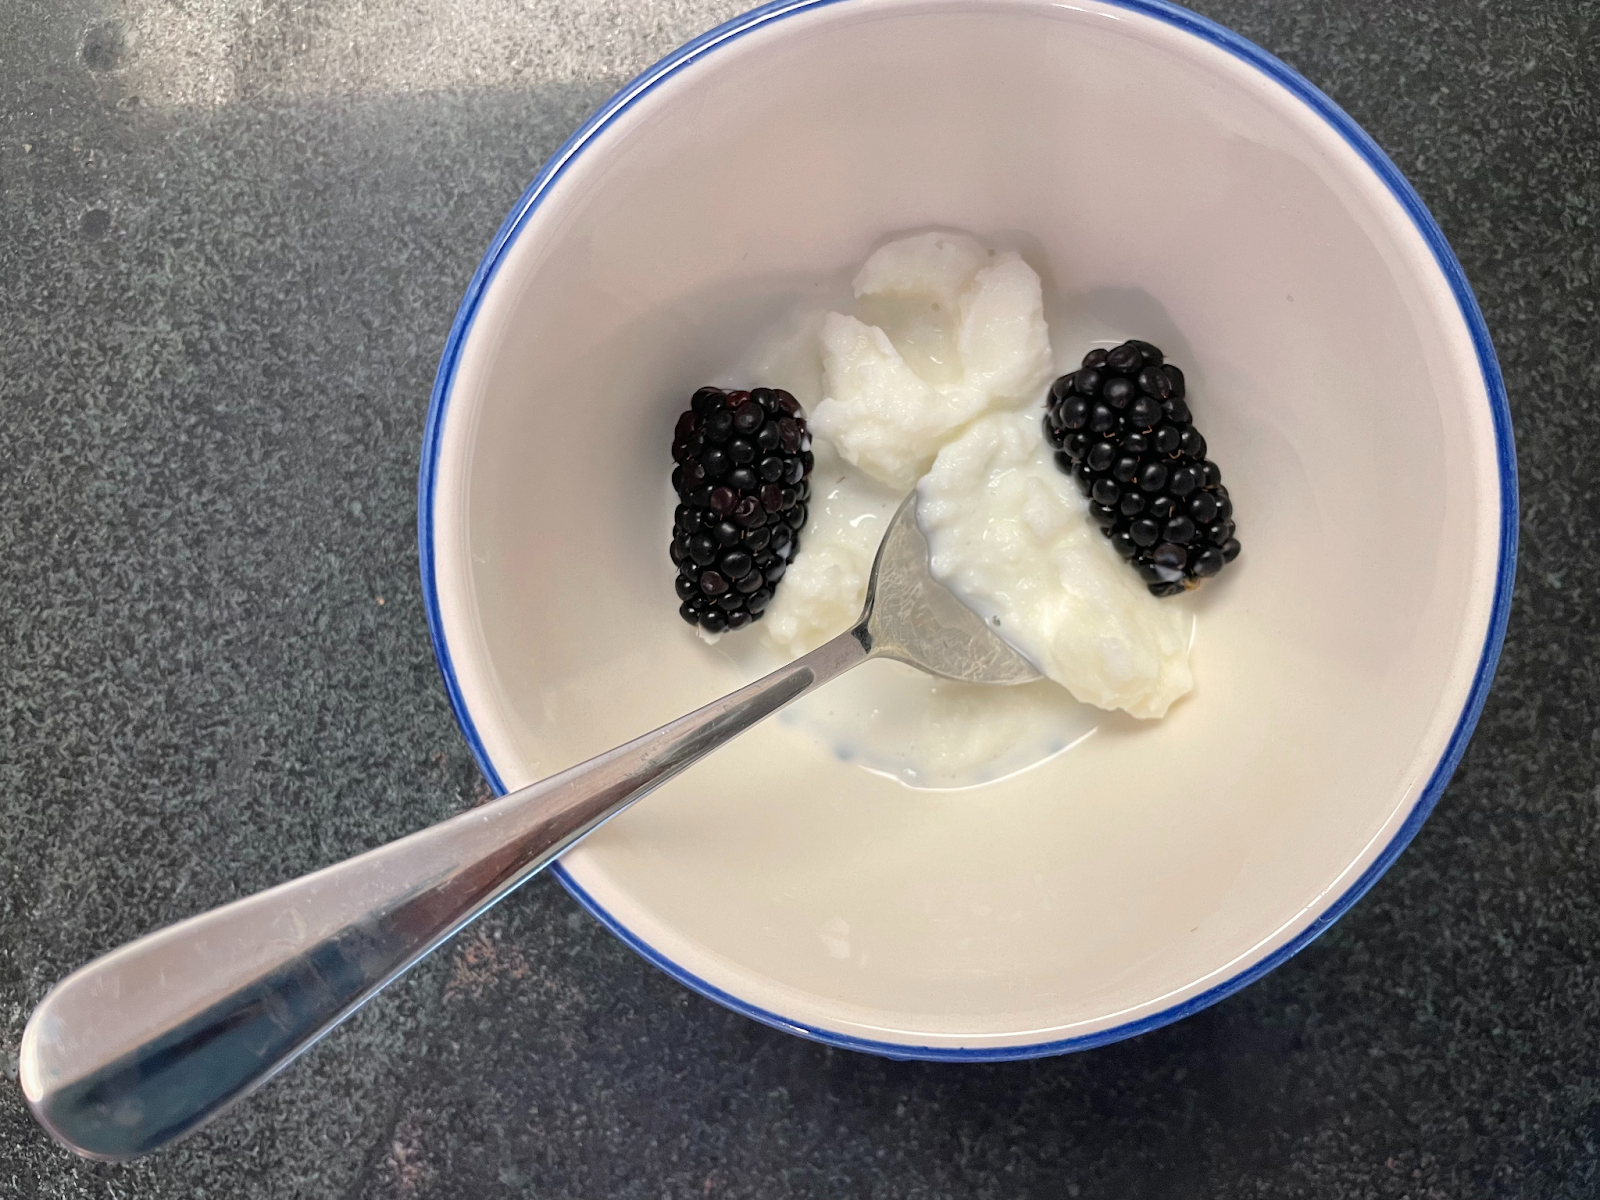
- Take the little bag out of the larger one and either eat your “breakfast” out of the bag or transfer the ice cream into a bowl. (The ice and salt from the big bag can be dumped in the sink.)
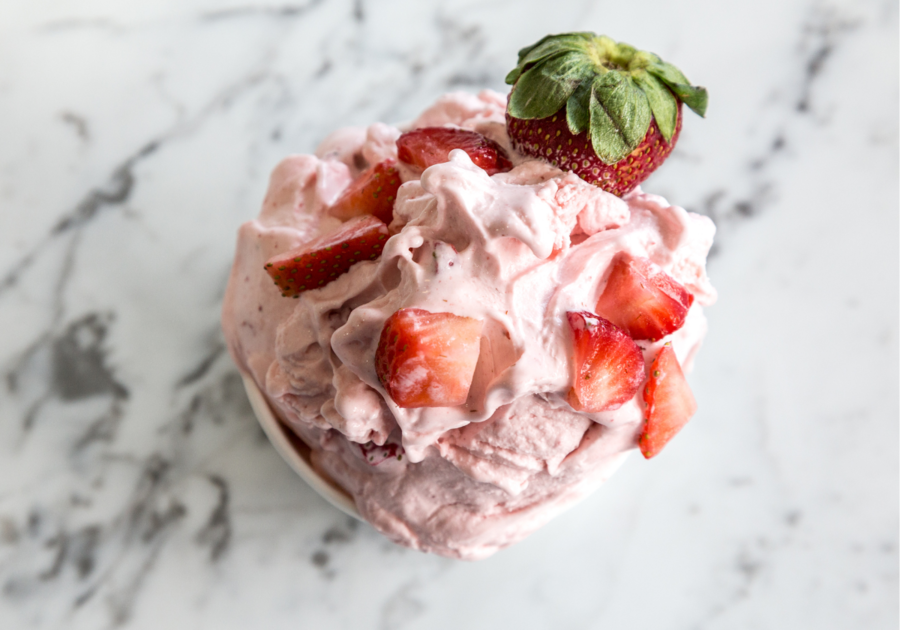
- Add some fruit or mini chocolate chips to make the ice cream more fun and/or nutritious. Who knew cooking breakfast could be so much fun!
Aside from the title photograph credited to Canva, all subsequent photos are by Lisa F.